Onboarding the Integrated Service
You can onboard a Webex Cloud Connect service by sending a email to the customer tenant admin account including a link to a Token invitation wizard . They must then login to their Webex Control Hub and consent to allow access to their platform. Once consent is provided, locations added on Webex are synced to Live Platform and numbers that you upload to the customer tenant on Live Platform are automatically synced to the customer Webex Control Hub. In addition, the Token connection also enables the daily synchronization of the following License usage parameters with the Webex Control Hub:
| ■ | Unused DIDs: The total number of DIDs that are not yet assigned to users. |
| ■ | User DIDs (assigned DIDs): The total number of DIDs assigned to customer tenant of number type "user" for user voice calling. |
| ■ | Contact Center DIDs: The total number of DIDs loaded to customer tenant of number type Contact Center. |
| ■ | Service Number DIDs: The total number of DIDs loaded to customer tenant of number type 'Service' for service numbers such for applications such as Fax IVR and Emergency calling. |
| ■ | Service Numbers CAC: The total CAC value aggregated for the Service numbers DIDs. |
For this purpose, the customer must consent to allow the following permissions on their Webex Control Hub:
| ■ | Allow decryption and encryption |
| ■ | Read locations |
| ■ | Scope to limit the read access to partners telephony PSTN |
| ■ | Read users |
| ■ | Read and list telephony configuration |
| ■ | Create, edit and delete telephony configuration |
The onboarding process applies the Live PlatformEssential license to the lead request. In addition to applying this global Live Platform license, you also need to configure the number of calling sessions required for each call type. For example, the User-based phone number Calling type allows two user sessions (one concurrent call and one forwarded call transferred back through the SBC). In addition, you can optionally meter customer calling sessions using the Pay-as-you-go model so that the customer is billed based on actual consumed call sessions instead of the ordered session values.
| ➢ | To onboard the Webex service: |
| 1. | Do one of the following: |
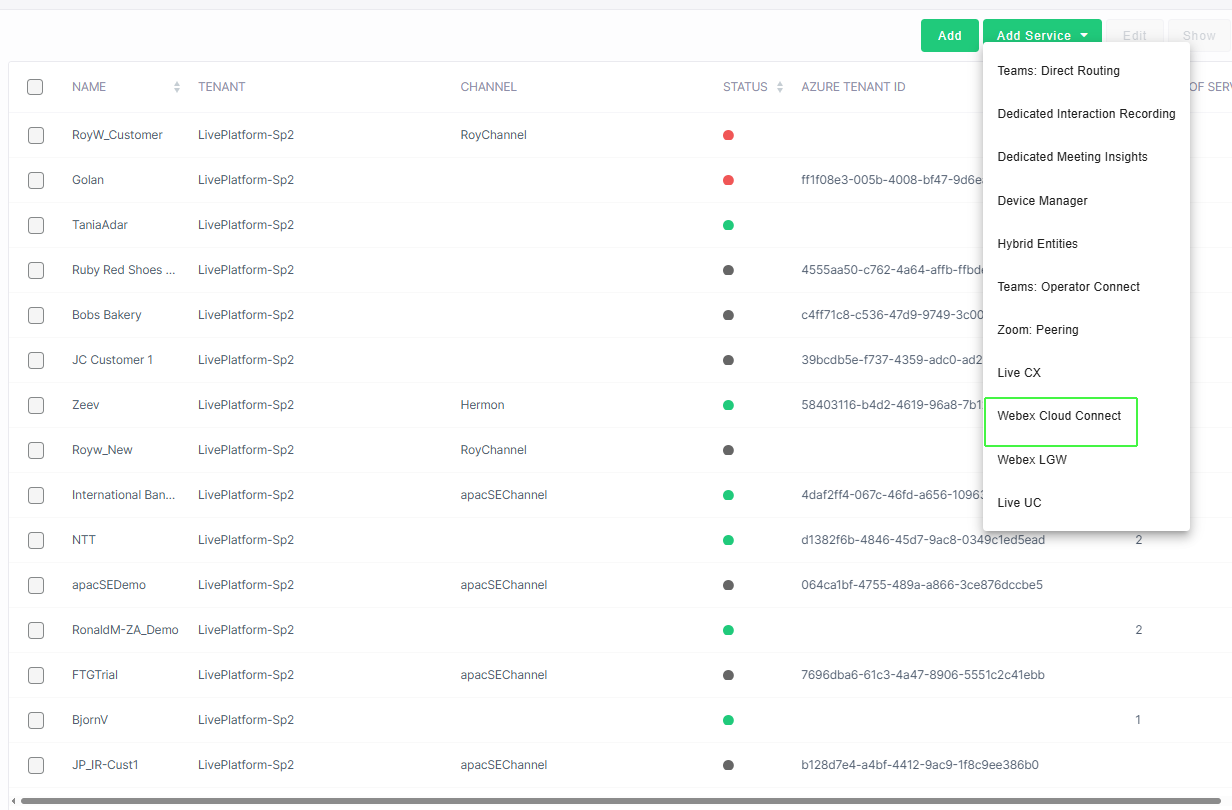
| ● | In the Customers page, select the check box adjacent to the relevant customer and then from the Add Service drop-down, choose Webex Cloud Connect. |
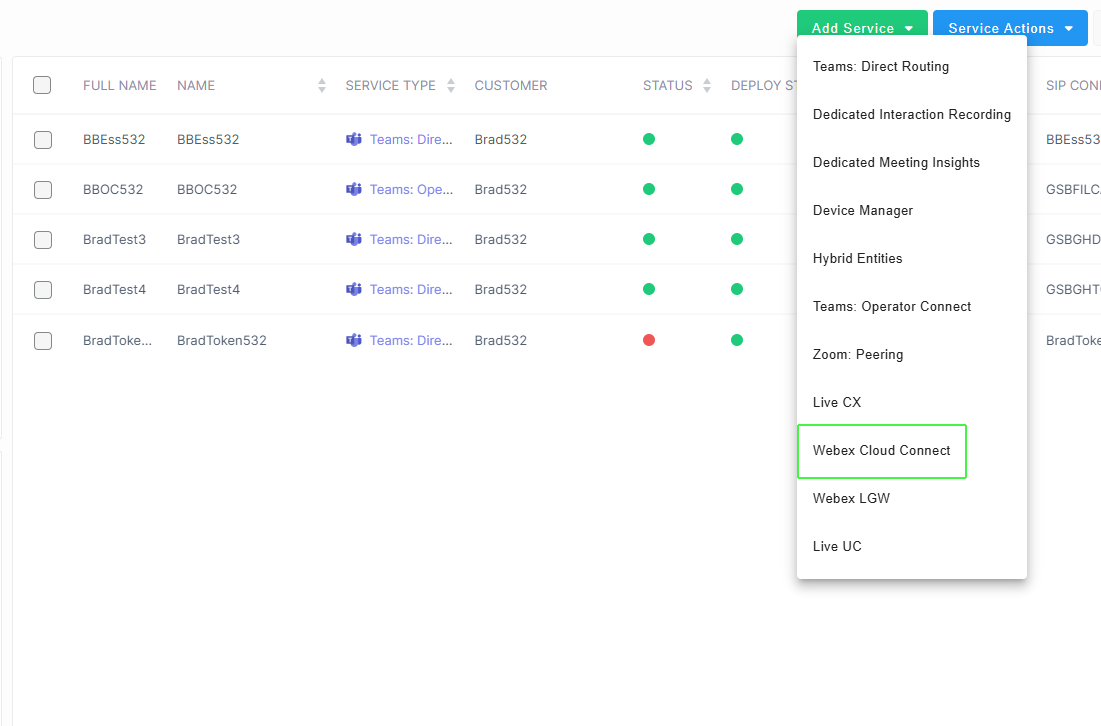
| ● | In the Services page, from the Add Service drop-down, choose Webex Cloud Connect. |
| a. | Select the relevant customer. |
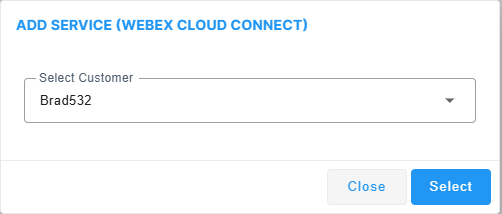
The Onboarding form is displayed.
| 2. | Configure parameters according to the table below and then click Submit. |
|
Parameter |
Description |
|||||||||||||||||||||
|---|---|---|---|---|---|---|---|---|---|---|---|---|---|---|---|---|---|---|---|---|---|---|
|
New Service Name |
The name of the new service. |
|||||||||||||||||||||
|
Service Short name |
The Short name of the new service. |
|||||||||||||||||||||
|
Contact Name |
The name of the contact person or tenant admin responsible for the deployment and management of the service. |
|||||||||||||||||||||
|
Phone Number (E.164) |
Phone number of the contact person according to E.164 format: A maximum of 15 digits, and with the following validation rules:
The number has the following structure: [+][country code][area code][subscriber number]. Example United States Telephone number: +12127881500
|
|||||||||||||||||||||
|
|
The email of the tenant admin managing the service. |
|||||||||||||||||||||
|
Integration Type |
|
|||||||||||||||||||||
|
Webex Organization ID |
The Organization ID registered for the customer on the Webex Cloud Connect platform. |
|||||||||||||||||||||
|
Customer License |
The license type for the service. Default: Essential |
|||||||||||||||||||||
|
Pay as you go |
Select the 'Pay as you go' option for pay-as-you-go model for billing according to the actual consumed sessions for the service instead of the ordered sessions (as configured for the "Number of Licensed Users", "Number of Service Number sessions" and "Number of Contact Center sessions" below). |
|||||||||||||||||||||
|
Number of Licensed Users |
The maximum number of licensed sessions for managing numbers of type "User": User-based phone number that allows the user two sessions (one concurrent call and one forwarded call transferred back through the SBC). |
|||||||||||||||||||||
|
Number of Service Number sessions |
The maximum number of licensed sessions for managing numbers of type "Service": Session-based unique main phone number that is limited to three or more sessions or concurrent calls (e.g., for groups of users sharing the same E.164 phone number call queues, shared calling, auto-attendants, IVRs, BOTS, hunt groups, etc.). |
|||||||||||||||||||||
|
Number of Contact Center sessions |
The maximum number of licensed sessions for managing numbers of type "Contact Center": Session-based main phone number for a contact center. The contact center number can be limited to three or more sessions or can be open-ended (sessions will be billed according to actual usage). |
|||||||||||||||||||||
|
Comments |
Free text notes. |
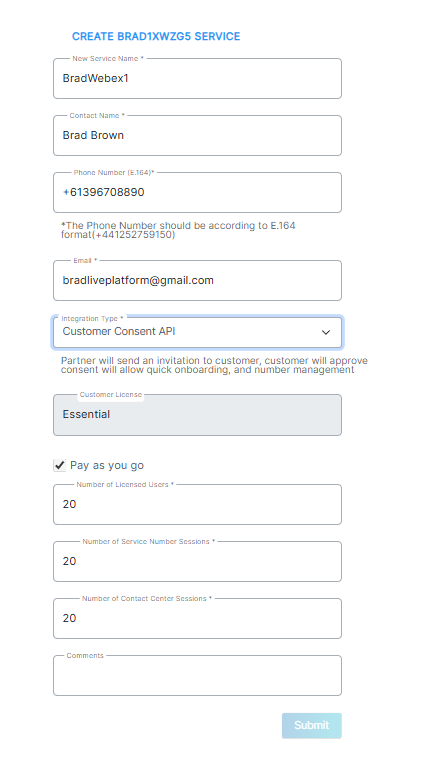
Once the service is successfully added, a message similar to the following is displayed.

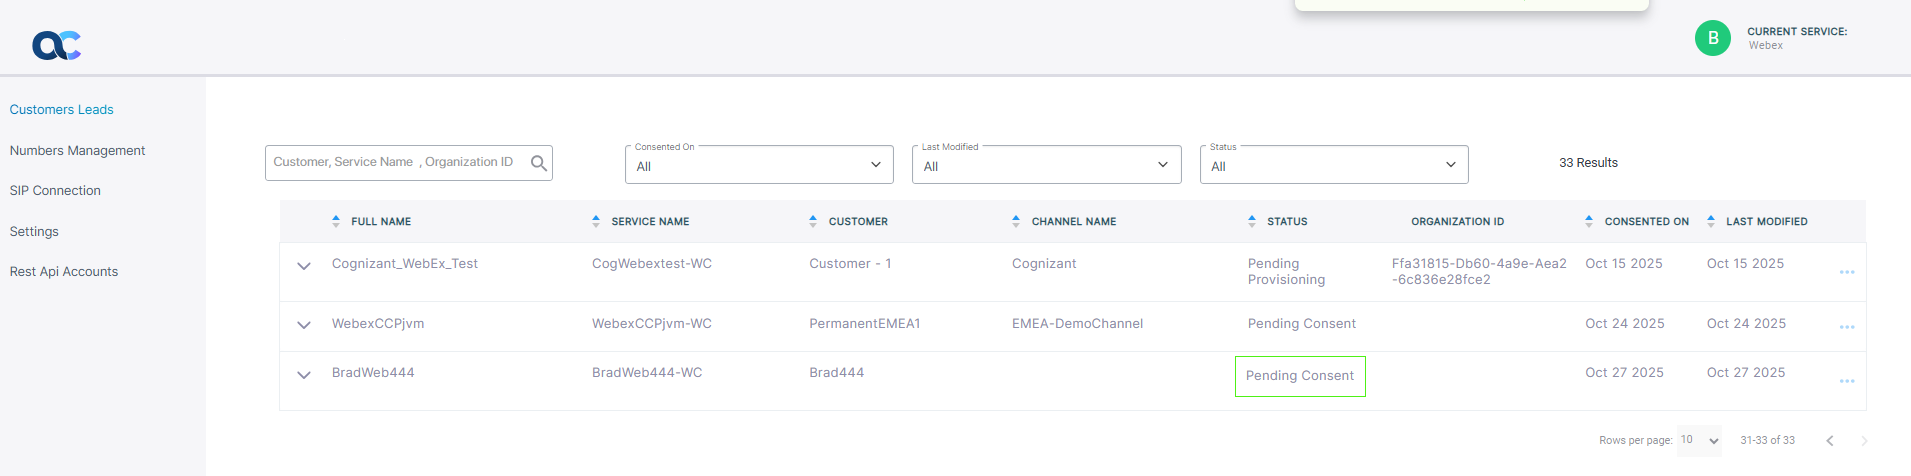
| 3. | Click the All Customers tab to view the new service. |
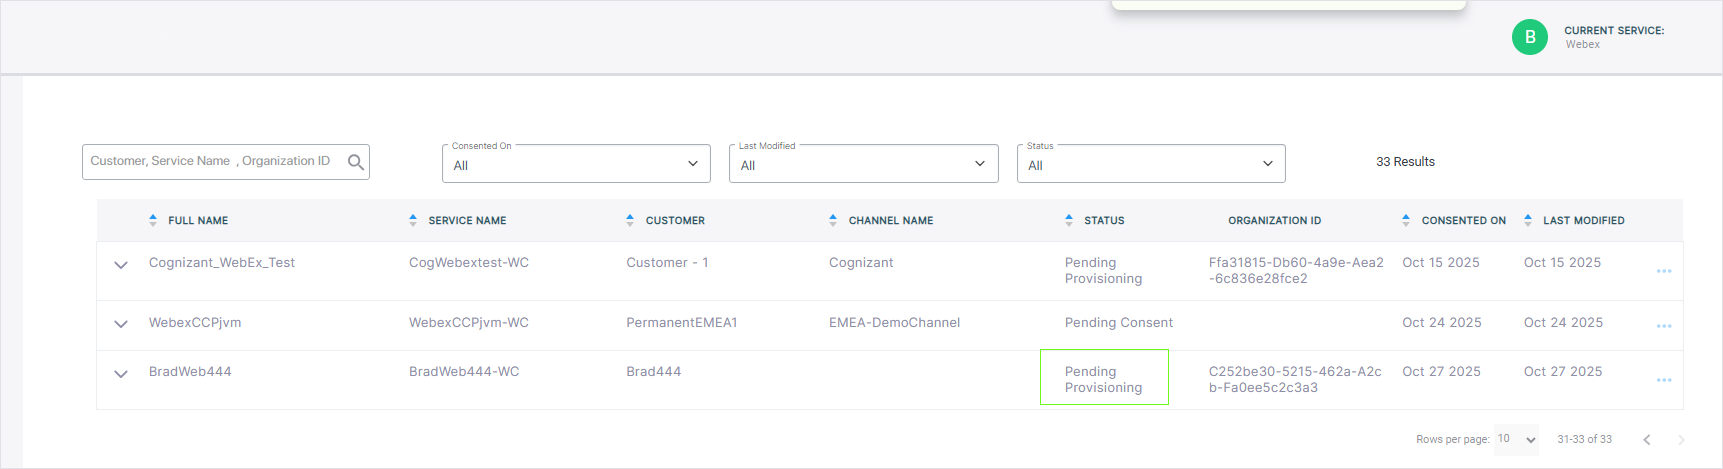
| 4. | Search for your customer; note that the Status is 'Pending Consent' until the customer runs the Token invitation link send to their customer admin email account (see step below). |
| 5. | An email invitation similar to the following is sent to the customer tenant. |
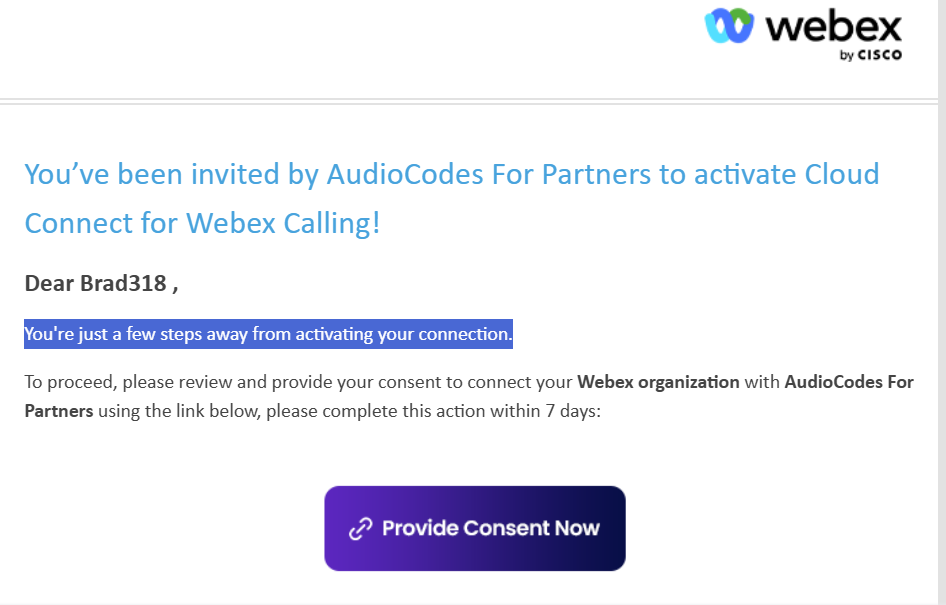
| 6. | Click Approve Connection Now. |
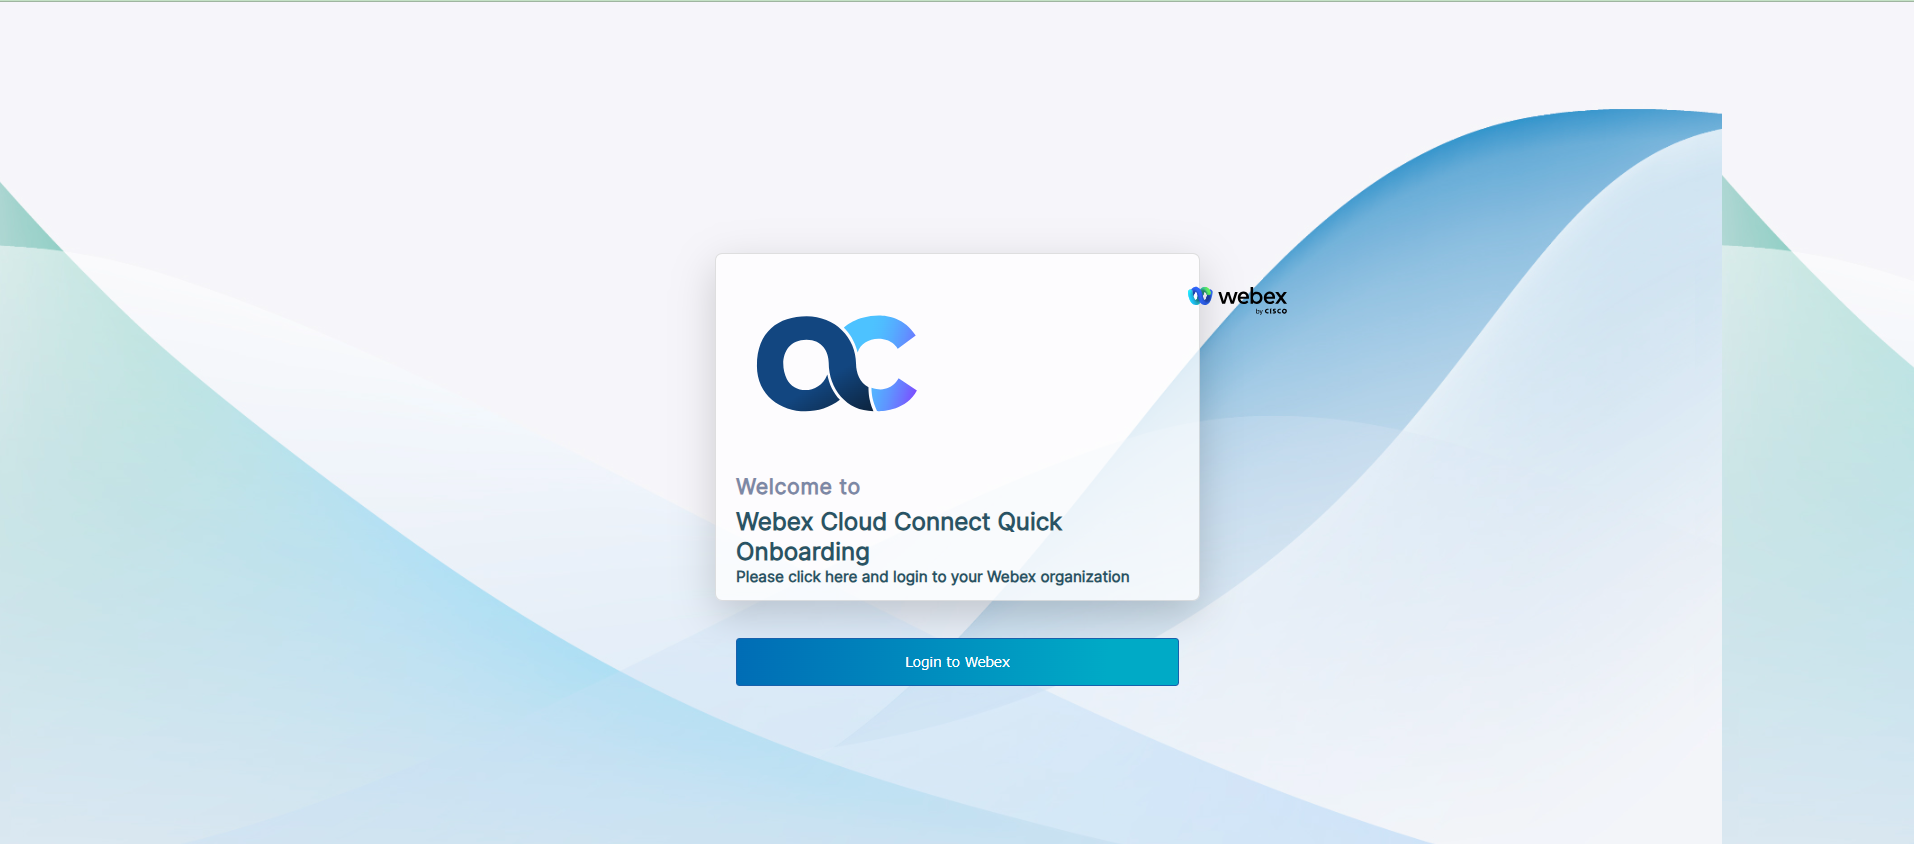
| 7. | Click Login to Webex. |
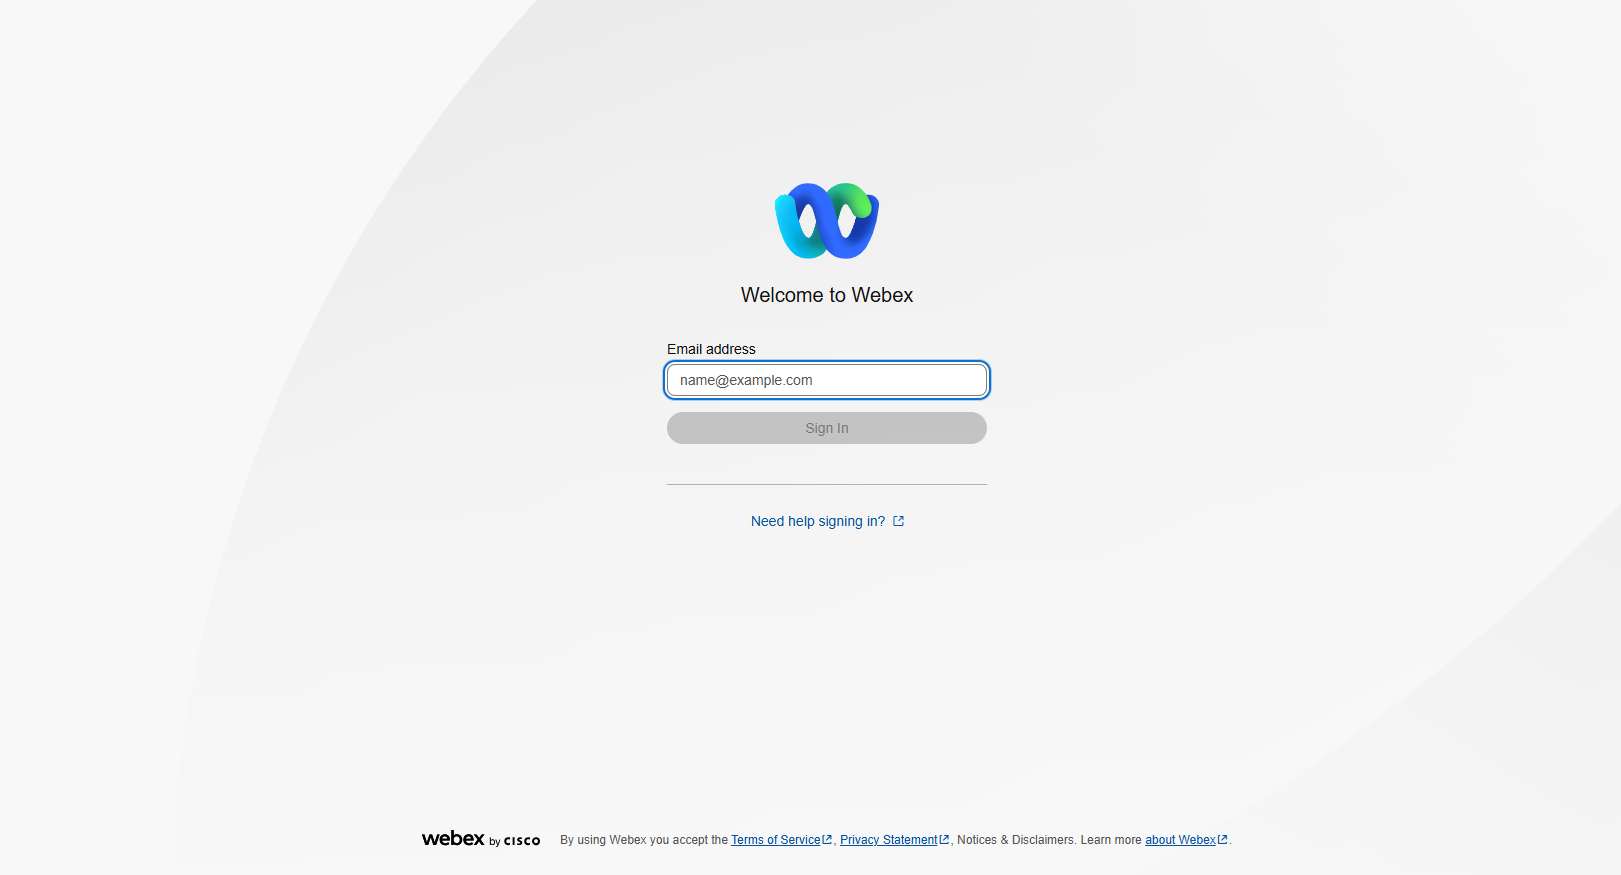
| 8. | Enter the Email address and password of the Webex Control Hub account and then click Sign in. |
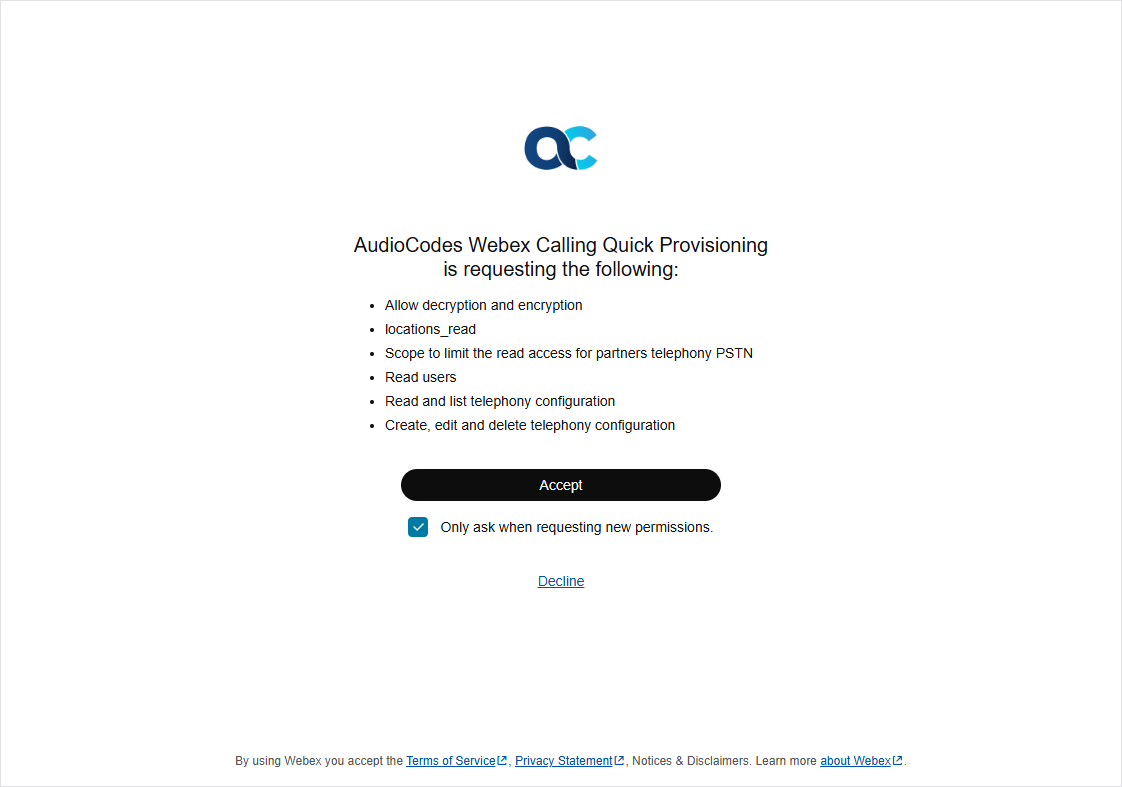
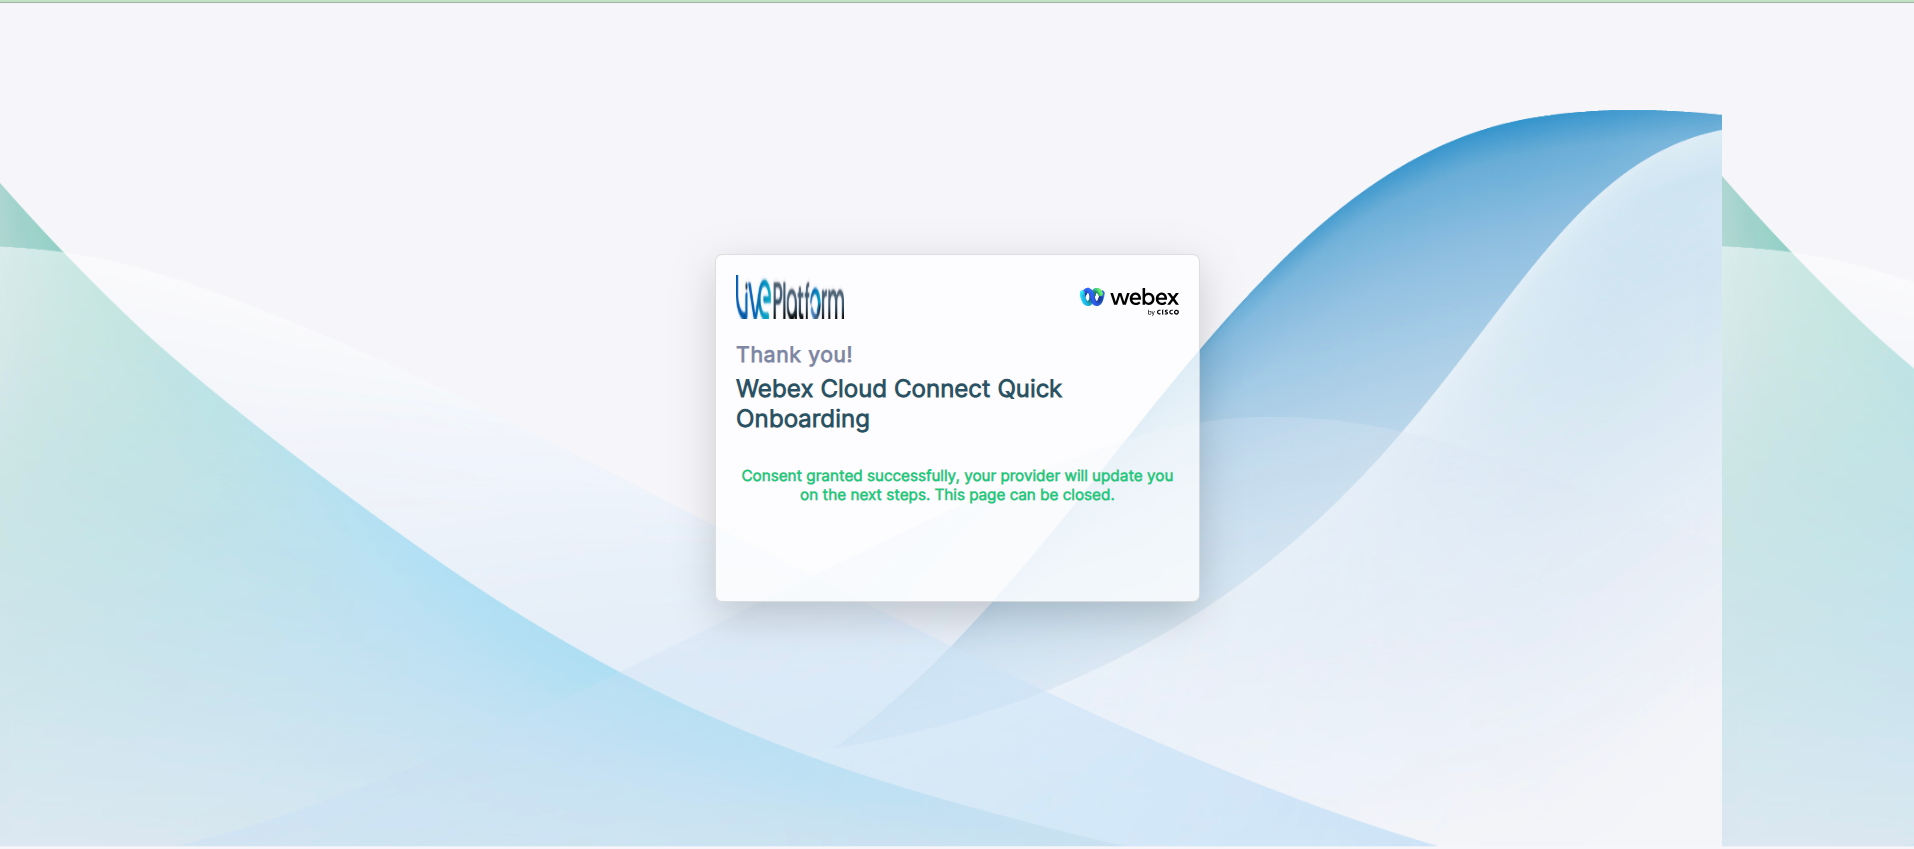
| 9. | Click Accept to provide consent. The following confirmation is displayed. You can close the screen. |
| 10. | From the Services page in Live Platform Operation Center, from the Service Actions drop-down, open the Management portal (Webex Cloud Connect > Open Services page). |
| 11. | Search for your customer; note that the Status is now 'Pending Provisioning'. |